You’ve installed RankAl SEO, your sitemap is generating at yourdomain.com/sitemap.xml, and everything looks good. But Google still hasn’t indexed your new pages. The missing step is telling Google your sitemap exists — and Google Search Console is where that happens. Here’s exactly how to do it.
What is a sitemap and why does Google need it?
A sitemap is an XML file that lists every URL on your site along with metadata about each one — when it was last updated, how often it changes, and how important it is relative to other pages. It’s essentially a roadmap you hand to Google so its crawler knows what exists on your site.
Google finds most pages through links, but a sitemap is the fastest and most reliable way to make sure every page gets discovered — especially new content, pages with few inbound links, or large sites where the crawler might miss things.
RankAl SEO automatically generates and maintains your sitemap at yourdomain.com/sitemap.xml. Every time you publish or update a post, the sitemap updates and pings Google automatically. But you still need to register it in Search Console once — that’s what this guide covers.
Step 1 — Set up Google Search Console
If you haven’t added your site to Google Search Console yet, do that first.
- Go to search.google.com/search-console
- Click Add property
- Choose URL prefix and enter your full domain:
https://yourdomain.com - Verify ownership — the easiest method is the HTML tag option
Verifying with the HTML tag (recommended)
Search Console will give you a meta tag that looks like this:
<meta name="google-site-verification" content="YOUR_CODE_HERE" />In WordPress, go to RankAl SEO → Settings → Webmaster Tools and paste your verification code into the Google field. Save — RankAl SEO will output the tag in your site’s <head> automatically. Go back to Search Console and click Verify.
Step 2 — Find your sitemap URL
RankAl SEO generates a sitemap index by default. Your main sitemap URL is:
https://yourdomain.com/sitemap.xmlVisit that URL in your browser first to confirm it loads. You should see a styled XML page listing sub-sitemaps for posts, pages, and any custom post types. If you get a 404, see our guide on fixing the sitemap 404 error first.
The full sitemap structure RankAl SEO generates looks like this:
sitemap.xml                  ← sitemap index (submit this one)
  ├── post-sitemap.xml       ← all posts
  ├── page-sitemap.xml       ← all pages
  └── category-sitemap.xml  ← category archives
You only need to submit the top-level sitemap.xml — Google will follow it and discover the sub-sitemaps automatically.
Step 3 — Submit the sitemap in Search Console
- Open Google Search Console and select your property
- In the left sidebar, click Sitemaps (under Indexing)
- In the “Add a new sitemap” field, type
sitemap.xml - Click Submit
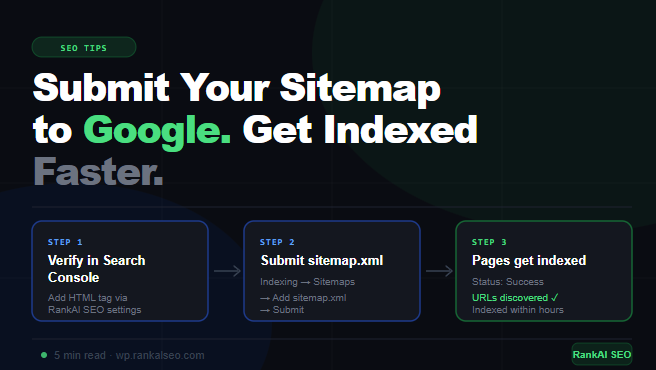
Google will immediately attempt to fetch and parse your sitemap. Within a few seconds you’ll see it appear in the list with a status of Success and a count of how many URLs were discovered.
Step 4 — Verify it was accepted
After submitting, the Sitemaps page shows a table with:
- Status: Should say “Success” — if it says “Couldn’t fetch” see the troubleshooting section below
- Discovered URLs: The number of URLs Google found in your sitemap
- Last read: When Google last crawled your sitemap
Note that “Discovered” doesn’t mean “Indexed.” Google has found the URLs but hasn’t necessarily crawled and indexed them yet. Indexing happens over the following hours to days depending on your site’s authority and how often Google crawls it.
Step 5 — Check indexing status
To see which pages are actually indexed, use the URL Inspection tool in Search Console:
- Click the search bar at the top of Search Console
- Paste any URL from your site
- Google will show you whether the page is indexed, when it was last crawled, and any issues found
For a broader view, go to Pages (under Indexing) to see how many pages are indexed vs. not indexed, and why.
How long does indexing take?
There’s no fixed timeline — it depends on your site’s crawl budget, domain age, and content quality. As a rough guide:
- New sites: days to weeks for first indexing
- Established sites: hours to a few days for new content
- High-authority sites: minutes to hours
If pages aren’t getting indexed after a week, the issue is usually content quality, duplicate content, or a crawl budget problem — not the sitemap submission itself.
How to request indexing for a specific page
If you need a specific page indexed quickly — a new landing page, a time-sensitive post — use the URL Inspection tool to request indexing directly:
- Paste the URL into the Search Console search bar
- Click Request indexing
- Google will add it to the priority crawl queue
This works well for individual pages. Don’t use it as a workaround for submitting sitemaps — it doesn’t scale and Google rate-limits it.
Troubleshooting — sitemap errors in Search Console
“Couldn’t fetch” error
Google couldn’t download your sitemap. Check:
- Visit
yourdomain.com/sitemap.xmlyourself — does it load in a browser? - Make sure your server isn’t blocking Googlebot via
robots.txtor server firewall rules - Check that your site isn’t returning a redirect loop or authentication challenge
- If your sitemap URL is correct but still fails, try resubmitting — sometimes it’s a temporary Google-side issue
“Sitemap is HTML” error
Google fetched the URL but got an HTML page instead of XML. This usually means:
- WordPress is returning your homepage at
/sitemap.xmlbecause the endpoint isn’t registered — go to Settings → Permalinks → Save Changes to flush rewrite rules - A caching plugin is serving a cached HTML response — clear all caches then resubmit
URLs in sitemap not being indexed
If Search Console shows pages as “Discovered — currently not indexed” or “Crawled — currently not indexed,” the sitemap submission worked fine. The issue is something Google found on the page itself:
- Thin content: Pages with very little text or value won’t be indexed
- Duplicate content: If your content is substantially similar to another page, Google may skip it
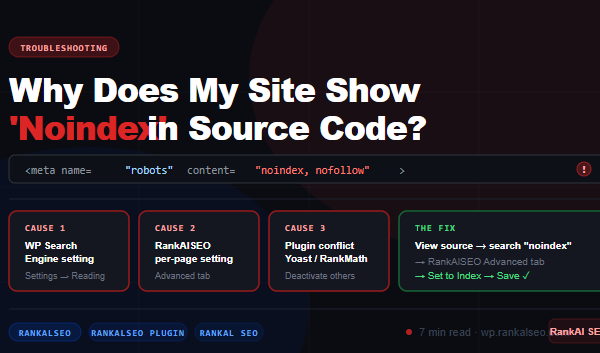
- Noindex tag: Check that RankAl SEO isn’t accidentally setting
noindexon the page — go to the post editor and check the SEO settings panel - Low crawl budget: New or low-authority sites get fewer crawl credits — focus on building quality content and inbound links
Keep your sitemap healthy
RankAl SEO handles sitemap maintenance automatically, but there are a few things worth checking periodically:
- Exclude pages you don’t want indexed: In RankAl SEO, set any page to
noindexand it will be excluded from the sitemap automatically - Check for sitemap errors monthly: Search Console emails you when it detects sitemap issues — make sure the email address on your Search Console account is active
- After major site changes: If you change your domain, restructure URLs, or migrate hosting, resubmit your sitemap and use the URL Inspection tool to verify key pages
Summary
Submitting your sitemap to Google Search Console takes about five minutes and is one of the highest-leverage SEO actions you can take on a new site. Here’s the full checklist:
- Verify your site in Google Search Console
- Add your Google verification code in RankAl SEO → Settings → Webmaster Tools
- Confirm your sitemap loads at
yourdomain.com/sitemap.xml - In Search Console → Sitemaps → submit
sitemap.xml - Check the status shows “Success” and URLs are discovered
- Use URL Inspection to monitor individual page indexing
Once submitted, Google will re-crawl your sitemap regularly — RankAl SEO also pings Google automatically every time you publish, so new content gets picked up as fast as possible.
Questions or running into an error not covered here? Reach out to support with a screenshot of the Search Console error and we’ll help you diagnose it.
RankAl SEO PRO gives you unlimited AI content generation, daily rank tracking, full-site audits, and WooCommerce SEO — all inside WordPress. From €8.99/month.